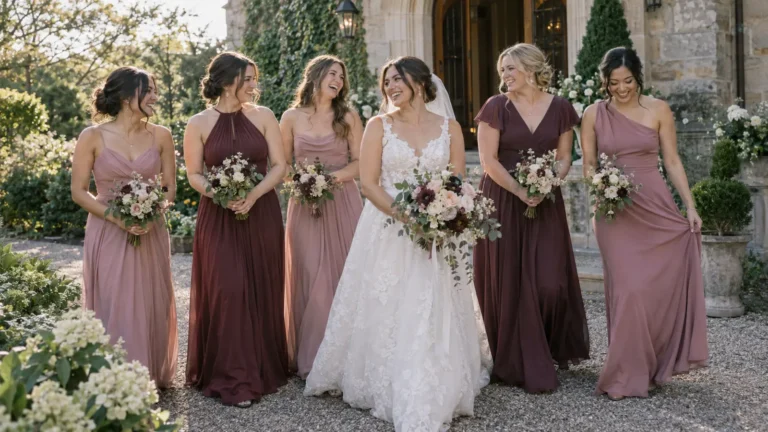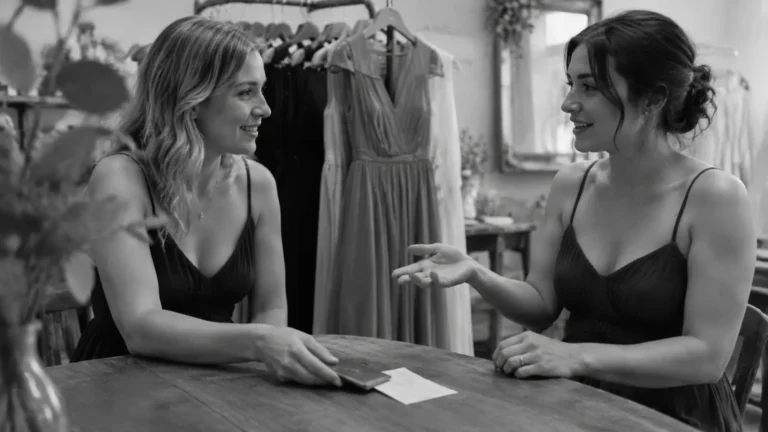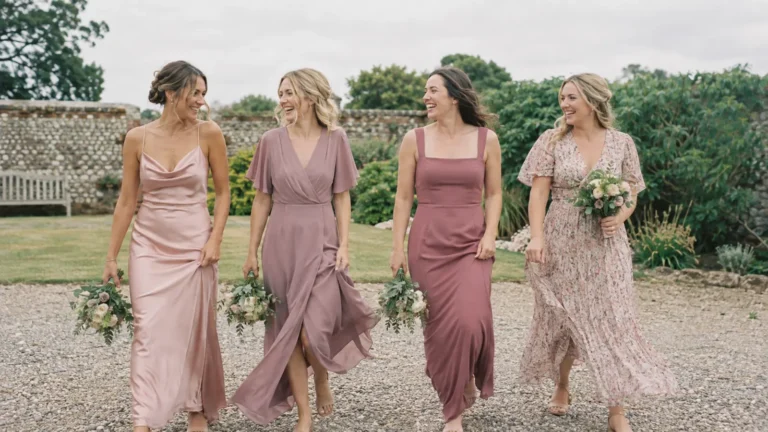
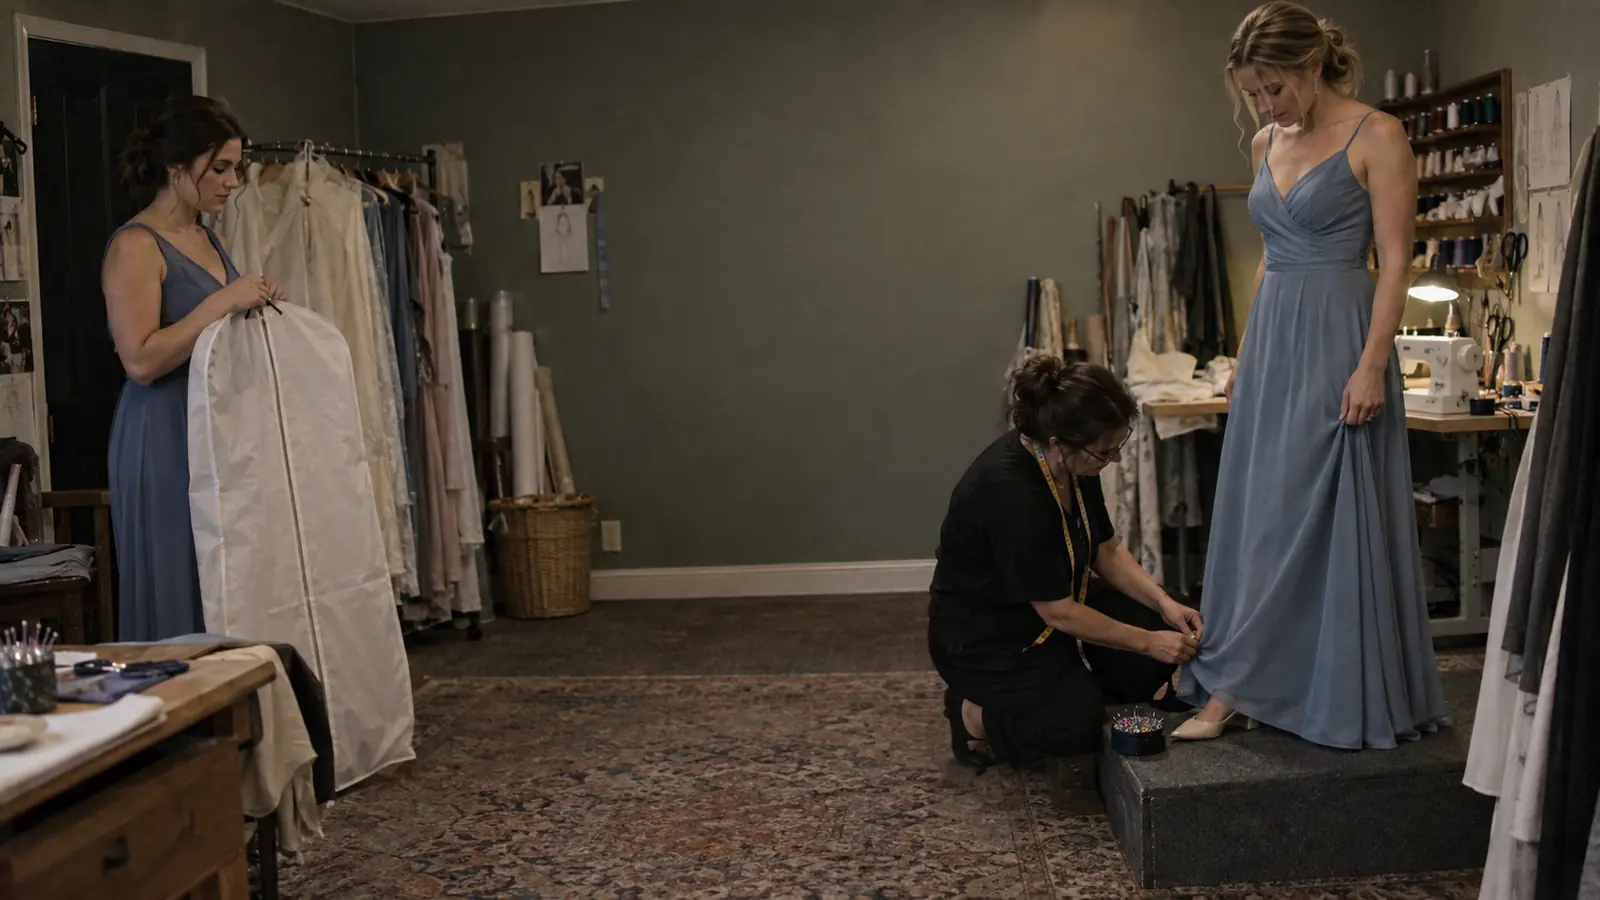
Bridesmaid dress alterations are often the final step between receiving a beautiful dress and actually feeling comfortable wearing it. Even when a dress was ordered using careful measurements, it may still need a shorter hem, adjusted straps or a small change through the waist or bust.
This is completely normal. Bridesmaid dresses are usually made according to standard size charts, while real bodies rarely match every measurement in one size perfectly.
The key is to leave enough time, understand what changes are realistic and include alterations in the budget from the beginning. Here is what bridesmaids and brides need to know before scheduling that first fitting.
Do Bridesmaid Dresses Normally Need Alterations?
Not every bridesmaid dress requires professional work, but it is wise to expect at least one small adjustment.
Floor-length dresses are commonly made long so they can accommodate women of different heights. This means hemming is one of the most frequent alterations, especially once the bridesmaid chooses her wedding-day shoes.
Other common reasons for alterations include:
- The bust fits while the waist feels loose
- The waist fits while the hips feel tight
- Straps are too long
- A neckline does not sit securely
- The dress pulls around the zipper
- The bodice needs additional support
- Sleeves restrict movement
- The hem drags on the floor
- A slit feels higher than expected
A dress does not need to fit like a custom-made gown, but the bridesmaid should be able to stand, sit, walk, raise her arms and dance without constantly adjusting it.
When Should Bridesmaid Dress Alterations Begin?
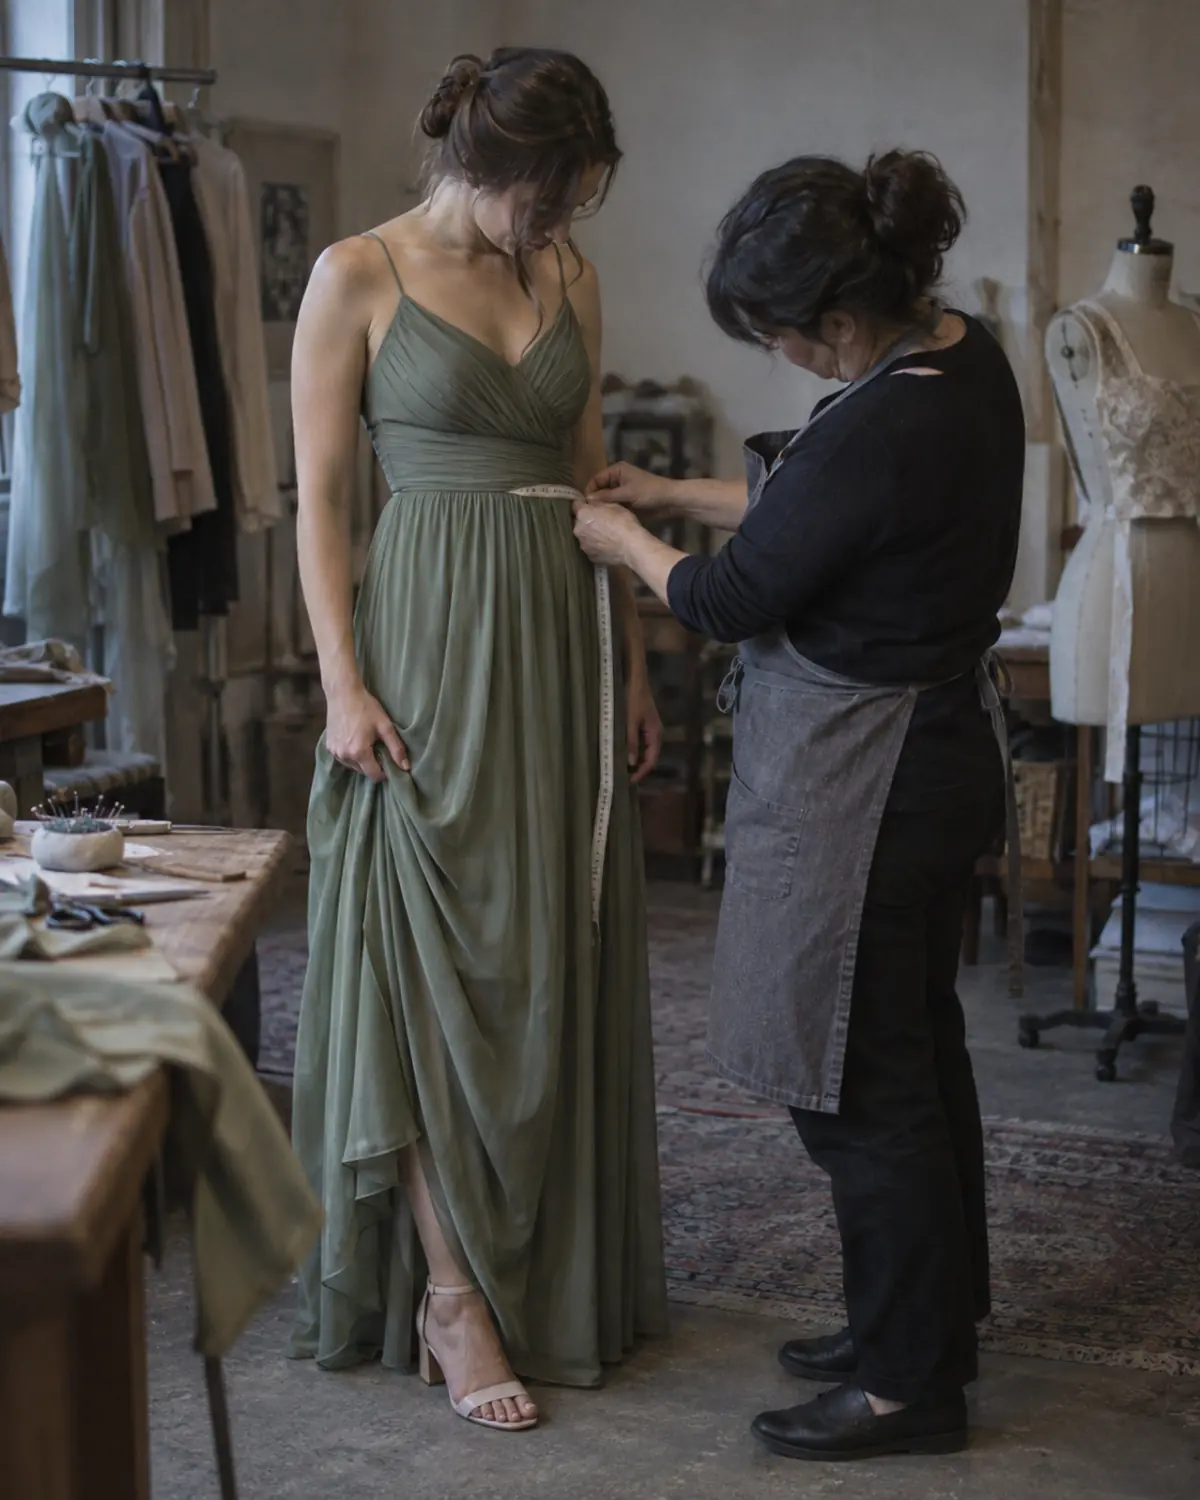
A good time to schedule the first fitting is approximately four to six weeks before the wedding. This gives the tailor time to complete the work and arrange a second fitting if adjustments are needed.
However, the appointment itself should be booked earlier. Tailors can become busy during spring, summer and early fall, when weddings, graduations and formal events often overlap.
Once the dress arrives:
- Try it on promptly.
- Wear the shoes and undergarments planned for the wedding.
- Check the fit while standing, sitting and walking.
- Contact a tailor and reserve the fitting.
- Ask how much time the proposed work will require.
Do not leave the dress unopened until a few weeks before the wedding. If the wrong size or color was delivered, alterations cannot solve every problem.
If you are still waiting for the dresses to arrive, see When Should Bridesmaids Order Their Dresses? A Realistic Timeline.
A Realistic Bridesmaid Alterations Timeline
Every tailor works differently, but the following schedule offers a practical starting point.
Two to three months before the wedding
Confirm that the dress has arrived and try it on with the correct undergarments. Research local alteration specialists, read recent reviews and schedule an appointment.
Book early even if the tailor plans to begin the work closer to the wedding.
Four to six weeks before the wedding
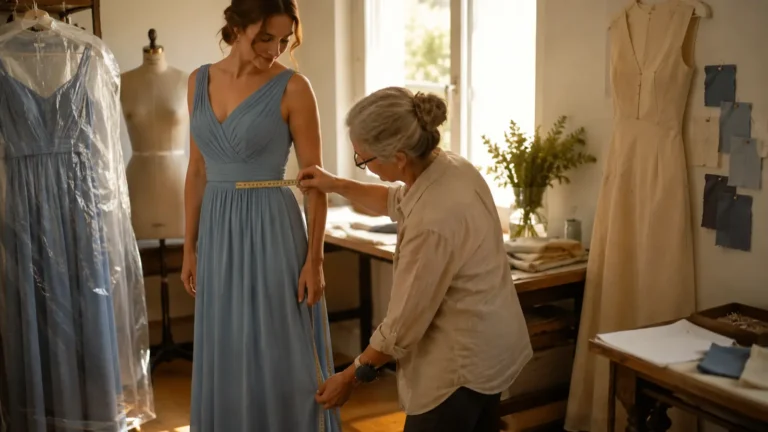
Attend the first fitting. The tailor will assess the overall fit, pin the hem and discuss any changes to the bodice, straps, sleeves or neckline.
Ask for a written estimate before approving the work.
Two to three weeks before the wedding
Attend a second fitting if needed. This is the time to check whether the original adjustments solved the problems without creating new ones.
Walk, sit and move your arms while wearing the dress. Do not judge the fit only while standing still.
One week before the wedding
Collect the completed dress or attend the final fitting. Try on the full outfit before leaving, including shoes and undergarments.
Confirm how the dress should be stored, transported and steamed.
The day before the wedding
Remove the dress from its garment bag if recommended and allow wrinkles to relax. Follow the care instructions provided by the tailor or dress retailer.
Avoid experimenting with an unfamiliar iron or steamer directly on delicate fabric.
Common Bridesmaid Dress Alterations
Some changes are relatively straightforward, while others require opening seams, moving a zipper or rebuilding part of the dress.
Hemming the dress
Hemming adjusts the length so the bridesmaid can walk safely without holding up the skirt.
The tailor will need to see the exact shoes planned for the wedding. Even a small difference in heel height can change where the hem should fall.
A dress with several layers, lace edging, pleats or a shaped skirt may require more work than a simple single-layer dress.
Shortening or adjusting straps
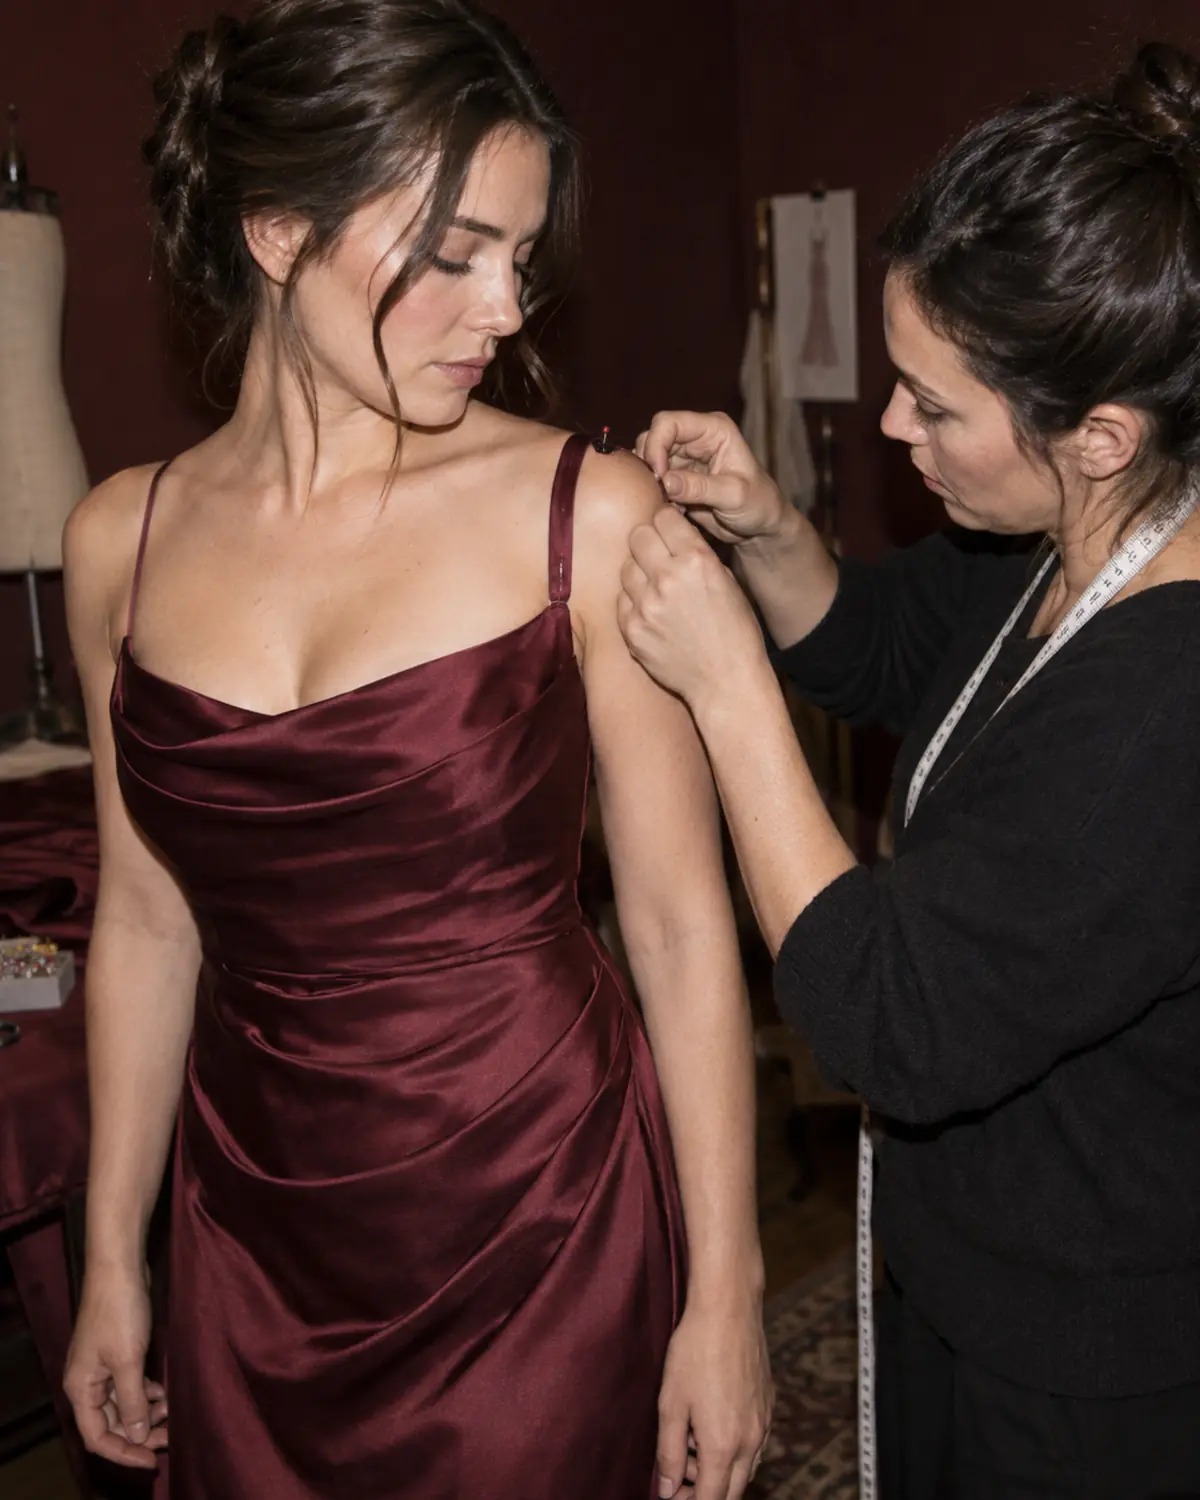
Long straps can cause the neckline to sit too low or make the bodice feel unsupported. Shortening them can improve the entire fit of the upper dress.
The tailor should check that the armholes remain comfortable after the straps are adjusted.
Taking in the waist or bodice
A loose waist or bodice can often be taken in through the side seams or back.
This may become more complicated when the dress includes boning, lace, sequins, ruching or a side zipper. Ask how the change could affect the placement of those details.
Letting out a dress
Some dresses contain extra fabric inside the seams and can be let out slightly. Others have very narrow seam allowances and offer almost no room.
A tailor must inspect the actual construction before promising that a dress can be enlarged. Adding a panel or changing the back closure may be possible, but it is more involved than a simple adjustment.
Adjusting the neckline
A tailor may be able to secure a gaping neckline, add discreet coverage or alter the shape slightly.
Large neckline changes can affect the bodice structure, so they should be discussed before purchasing the dress whenever possible.
Altering sleeves
Sleeves may be shortened, narrowed or adjusted around the shoulder. However, significant sleeve changes can be difficult when the material is delicate, heavily decorated or lacks extra seam allowance.
Adding cups or support
Sewn-in cups may provide shape and coverage, particularly when the dress cannot be worn with a standard bra.
Cups do not create the same support for every bust size. A bridesmaid who needs substantial support should discuss undergarments and dress construction before relying on cups alone.
Closing or lowering a slit
A high slit can sometimes be partially closed. Lowering or reshaping it may be more difficult because the original opening is connected to the skirt’s construction.
If coverage is important, ask about the slit before ordering rather than assuming it can always be changed later.
How Much Do Bridesmaid Dress Alterations Cost?
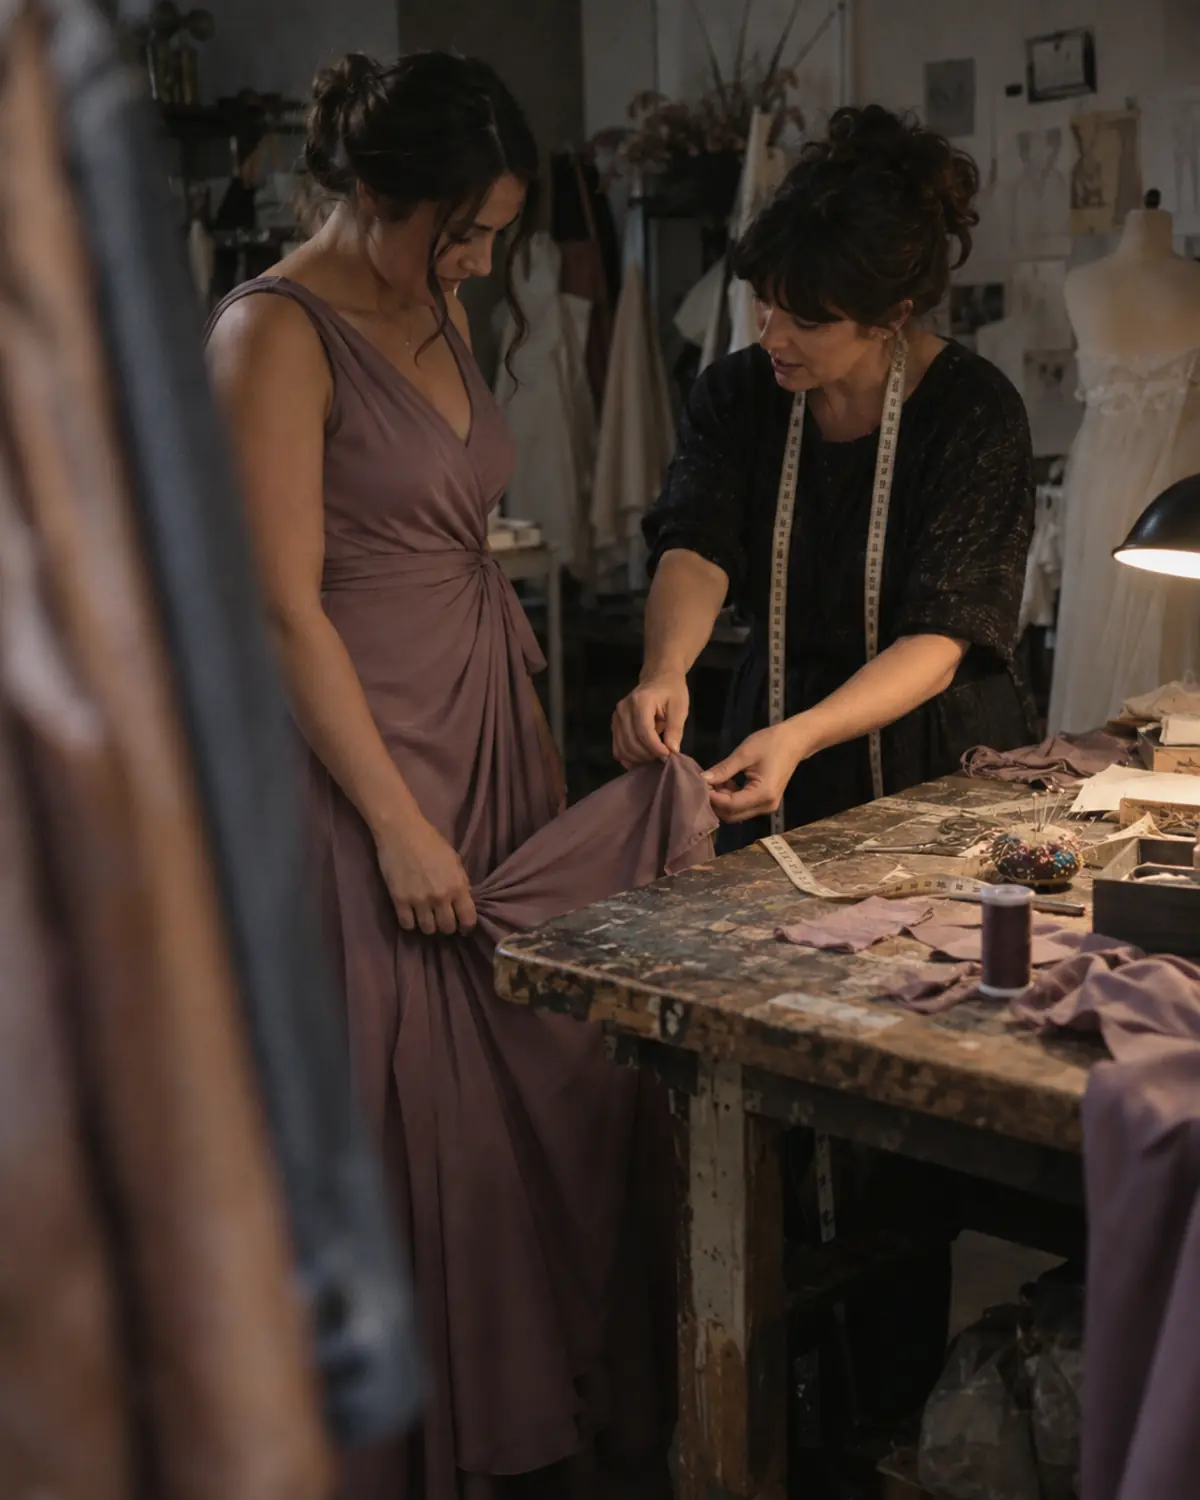
In the United States, many bridesmaids can expect alterations to fall somewhere around $75 to $150, although simple work may cost less and complicated work can exceed $200. Recent guides from The Knot and Bella Bridesmaids report similar typical ranges.
The final price depends on:
- The number of changes required
- The tailor’s location and experience
- The number of skirt layers
- The fabric
- Beading, sequins, lace or appliqué
- Whether the dress has boning or lining
- The placement of zippers and seams
- How quickly the work must be completed
A basic strap adjustment is normally less involved than resizing a structured bodice. Hemming a simple crepe dress may require less labor than preserving the lace border on a multilayered chiffon gown.
Ask for an itemized estimate before work begins. If the price feels surprisingly high, ask the tailor to explain which parts require the most labor.
Prices vary considerably by city and garment, so treat online averages as planning figures rather than guaranteed quotes.
Who Pays for Bridesmaid Dress Alterations?
In many U.S. weddings, bridesmaids pay for their own dresses and necessary alterations. However, this is a custom rather than an unbreakable rule.
The couple may decide to pay when:
- They selected an unusually expensive dress
- The design requires complicated alterations
- Everyone must use a particular tailor
- A bridesmaid has already paid significant travel costs
- The dress was changed after bridesmaids agreed to the original budget
- Paying would make participation more manageable for someone important to them
Whatever arrangement you choose, communicate it before dresses are ordered.
If bridesmaids are expected to pay, the dress price should not be presented as the full cost. Mention that hemming or other adjustments may add to the final amount.
For a broader breakdown of financial expectations, read Who Pays for Bridesmaid Dresses? A Fair Guide to Costs and Expectations.
What to Bring to a Bridesmaid Dress Fitting
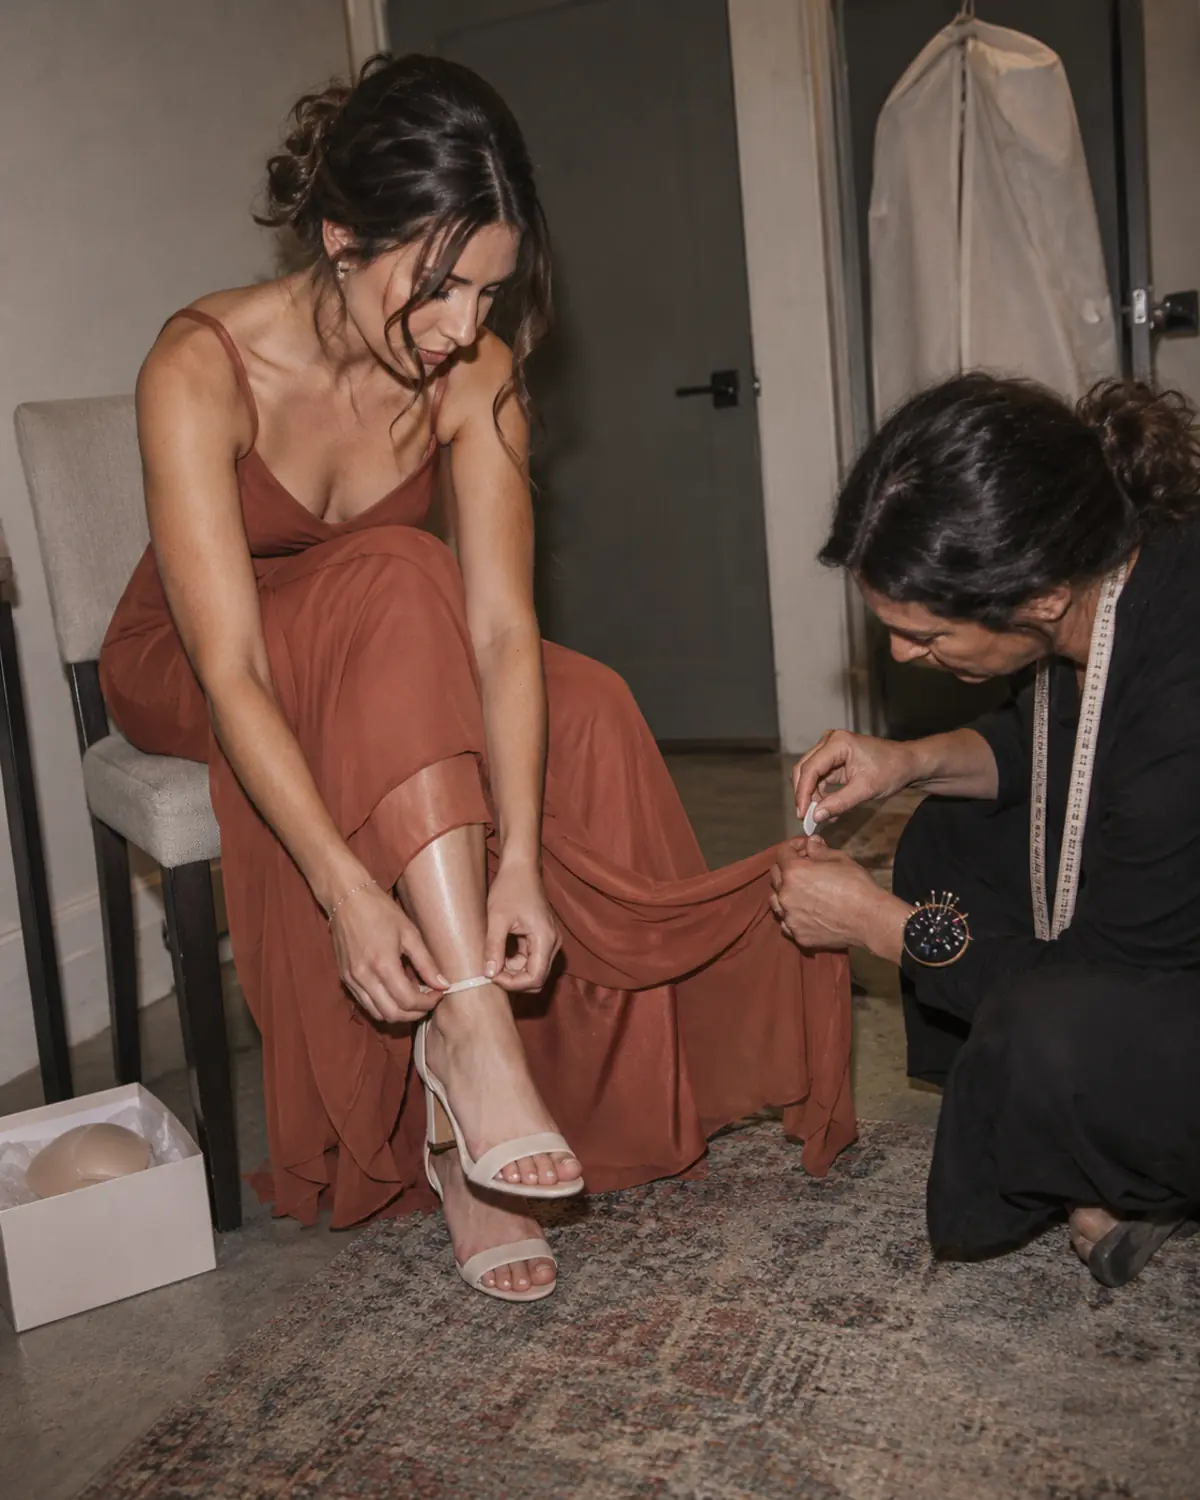
Bring the items that affect how the dress sits on the body.
The wedding-day shoes
The tailor needs the correct heel height to mark a floor-length hem accurately.
If the final shoes have not been purchased, bring a pair with the same heel height. Do not switch from flats to heels after the dress has been hemmed.
The planned undergarments
Wear the bra, shapewear or supportive garments you expect to wear at the wedding. Different undergarments can change the bust, waist and overall position of the dress.
If the dress has a low back, open sides or an unusual neckline, choose the undergarment before the fitting rather than afterward.
Any required accessories
Bring a belt, sash or removable straps if they affect the fit.
Jewelry and handbags are not normally necessary unless you want to see the nearly completed outfit.
The dress itself
Transport it in a garment bag and bring any extra fabric, straps or accessories that arrived with it.
A trusted person, if useful
A second person can help observe the back of the dress and record instructions. One calm, practical companion is usually more helpful than a large group offering conflicting opinions.
How Should a Bridesmaid Dress Fit?
A properly fitted bridesmaid dress should follow the body without creating strain or restricting movement.
Check the following:
- The neckline stays in position without gaping
- Straps remain on the shoulders
- The zipper closes without pulling
- The waist sits at the intended point
- The fabric falls smoothly rather than forming strong horizontal creases
- The bridesmaid can sit comfortably
- Arm movement is not restricted
- The hem clears the floor appropriately
- The dress feels secure without requiring constant adjustment
Take several steps, sit in a chair and raise both arms. If possible, imitate simple wedding-day movements such as holding a bouquet, walking up stairs and dancing.
Comfort matters because the dress will be worn for several hours, not just for photographs.
What Alterations May Not Be Possible?
A skilled tailor can solve many fit problems, but alterations have limits.
It may be difficult or impractical to:
- Increase a dress by several sizes
- Create fabric where there is no seam allowance
- Completely rebuild a structured bodice
- Preserve complicated beadwork during major resizing
- Change a high neckline into a dramatically lower one
- Add substantial sleeves without matching fabric
- Lengthen a dress when no extra material is available
- Correct a dress that is fundamentally the wrong shape
Before buying a dress that does not fit because it is heavily discounted, ask a tailor whether the changes are realistic. A low purchase price can become expensive once major reconstruction is required.
When choosing the original style, prioritize the hardest area to alter. It is often easier to take in a loose waist than to create additional room in a tight, structured bust or hip.
Maternity Bridesmaid Dress Alterations
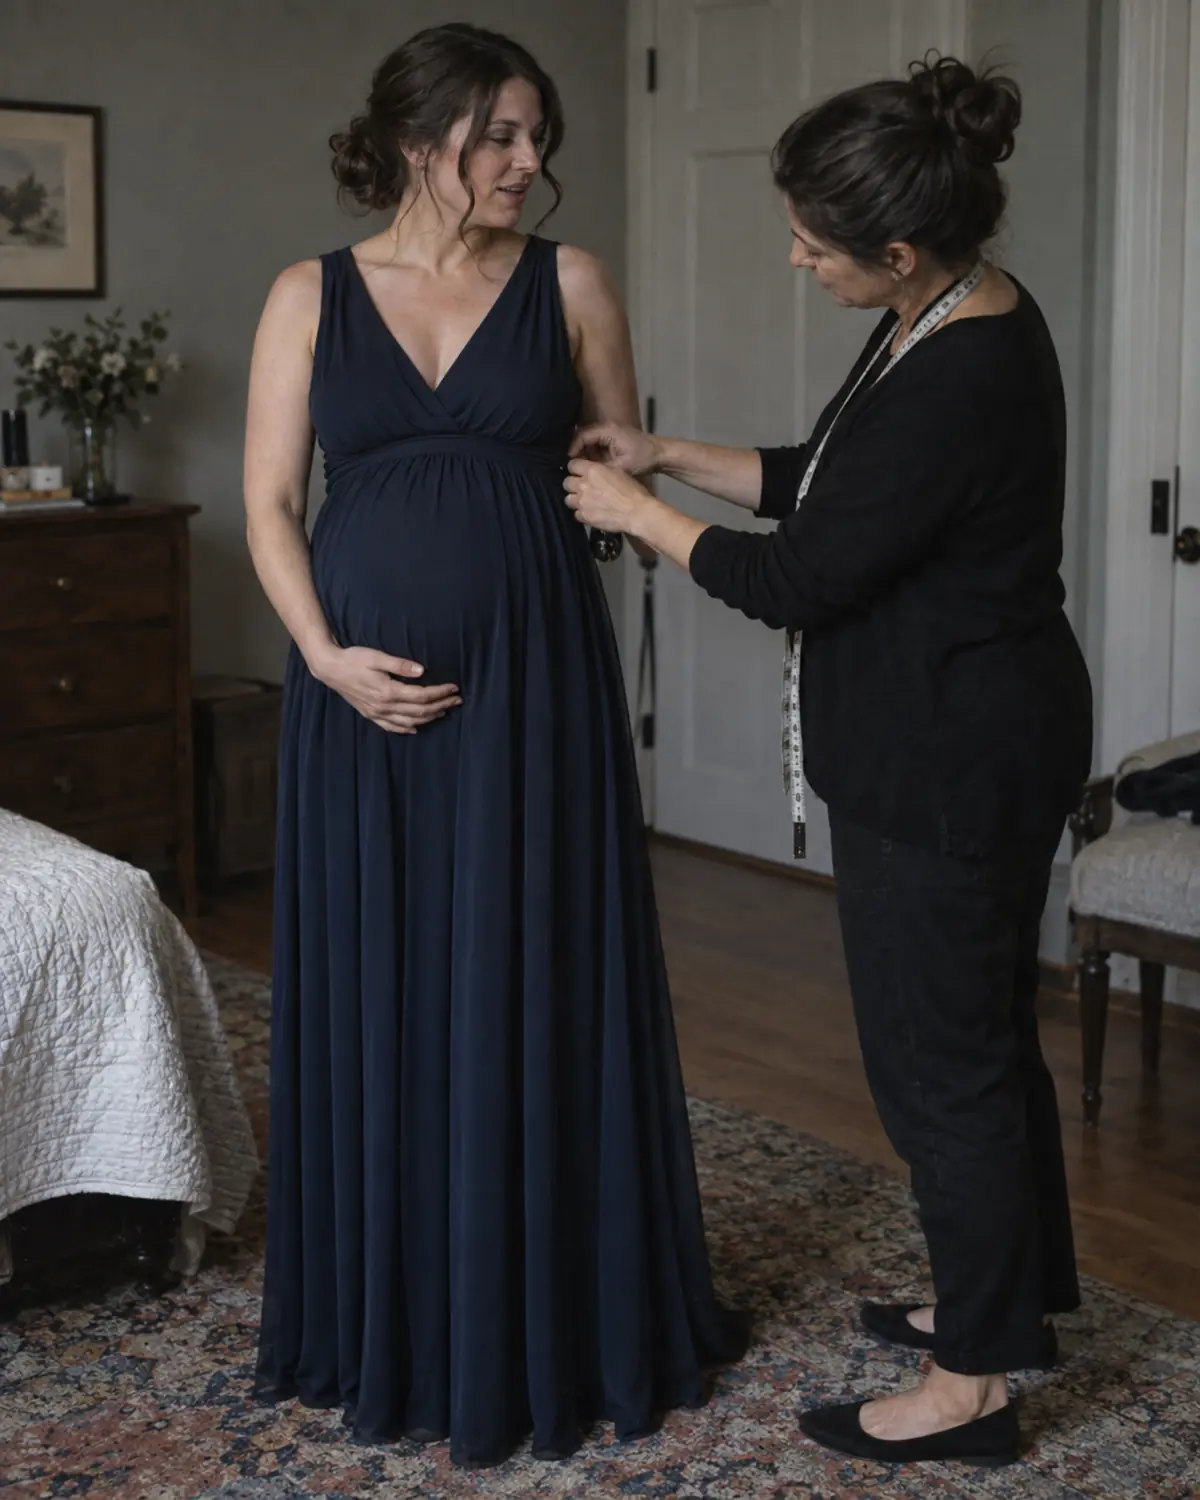
A pregnant bridesmaid’s measurements may change between ordering and the wedding, so the fitting timeline requires more flexibility.
Choose a dress designed for maternity wear or a forgiving silhouette with room through the waist. Features such as an empire waist, wrap bodice or flowing skirt may accommodate change more comfortably than a closely fitted style.
Speak to the tailor early, but schedule the main fitting closer to the wedding than usual. The exact timing should be decided with the tailor based on the pregnancy and dress construction.
Do not attempt to predict exact measurements months ahead. Ask whether extra fabric can be ordered and whether the seams provide room for later adjustments.
Most importantly, allow the bridesmaid to prioritize comfort. She should be able to sit, breathe, eat and move without pressure through the waist.
What if a Bridesmaid’s Body Changes?
Bodies change for many reasons, and the conversation should remain practical rather than judgmental.
If the dress becomes loose, it can often be taken in. If it becomes tight, the available options depend on the seam allowance and construction.
Contact the tailor as soon as the fit changes significantly. Waiting until the final week limits what can be done and may introduce rush charges.
Avoid asking a bridesmaid to change her body to fit the dress. The dress is the item that should be assessed and adjusted whenever reasonably possible.
This is part of choosing bridesmaid dresses that people genuinely feel comfortable wearing, rather than focusing only on how the bridal party will look in photographs.
What to Do if the Dress Arrives Late
A late dress does not automatically mean alterations are impossible, but you need to act quickly.
- Try on the dress immediately.
- Put on the correct shoes and undergarments.
- Photograph any visible fit issues.
- Contact alteration specialists and explain the wedding date.
- Ask whether a rush fee applies.
- Prioritize essential changes over optional redesigns.
Essential work may include making the dress safe to walk in, securing the neckline and ensuring the zipper closes comfortably. Decorative changes may need to be skipped.
Some alteration departments can complete work on short notice, but availability is not guaranteed. For example, David’s Bridal notes that it may offer alterations for nonbridal garments within two weeks, with rush fees potentially applying. David’s Bridal alterations FAQ
If there is not enough time for extensive work, ask about temporary and reversible solutions. These should still be completed or approved by someone who understands the fabric and construction.
Common Alteration Mistakes to Avoid
Waiting to try on the dress
Delivery does not guarantee the correct size, color or condition. Inspect it immediately.
Attending the fitting without the correct shoes
The tailor cannot mark an accurate hem without knowing the final heel height.
Changing undergarments after the fitting
A different bra or shapewear garment can alter the fit of the bodice.
Scheduling too late
Even simple adjustments require time, and busy tailors may have limited availability.
Requesting a complete redesign
Alterations refine fit. Transforming the dress into a different design may cost more than selecting a better style initially.
Ignoring comfort
A dress that looks smooth while standing may still feel restrictive when sitting or moving.
Trying to make home repairs without experience
A quick cut, stitch or adhesive can damage delicate fabric and make professional correction harder.
Failing to discuss the price first
Request an estimate and ask whether additional fittings are included.
Final Fitting Checklist
Before taking the dress home, confirm that:
- The zipper closes smoothly
- The neckline lies flat
- The straps feel secure
- The waist is positioned correctly
- The dress does not pull across the bust or hips
- You can sit comfortably
- You can raise and move your arms
- The hem works with your wedding shoes
- You can walk without stepping on the skirt
- All pins, temporary stitches and markings have been removed
- The dress is clean and undamaged
- You understand how to store and transport it
Photograph the completed outfit from the front, side and back. Images may reveal a twisted strap, uneven hem or fabric pull that was less noticeable in person.
Final Thoughts
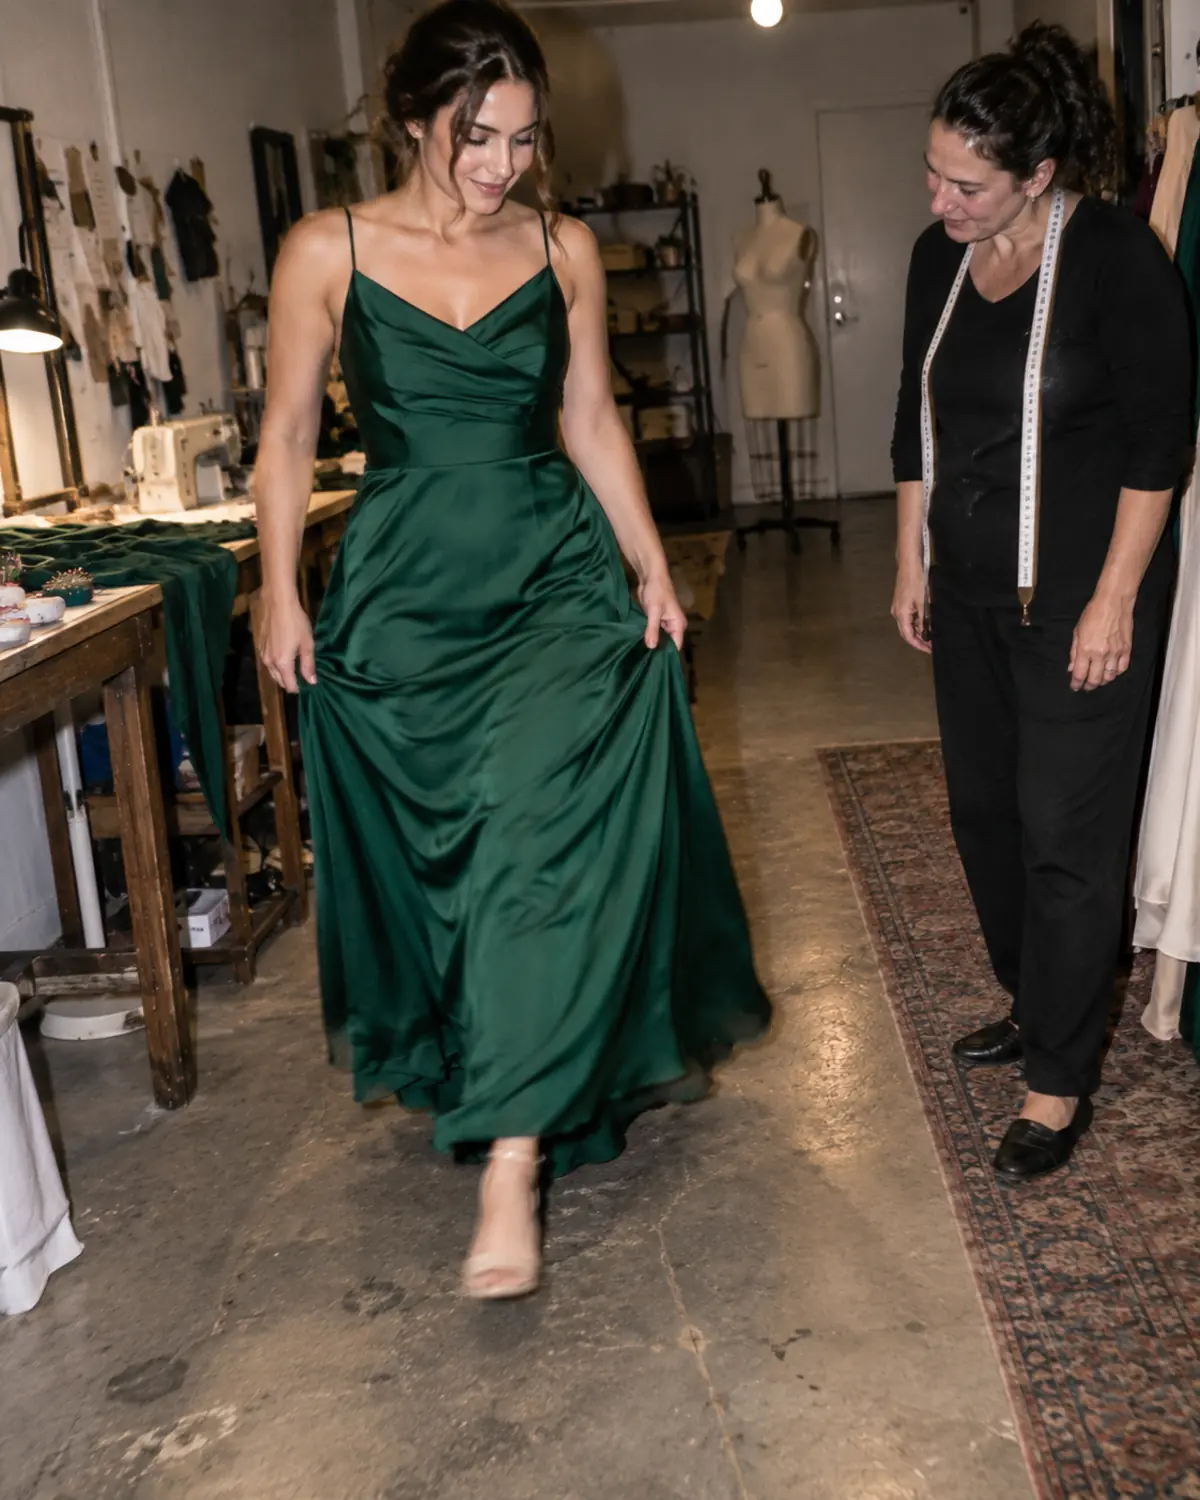
Bridesmaid dress alterations should improve both appearance and comfort, not force every body into an identical shape.
Try on the dress as soon as it arrives, reserve a tailor early and plan the first fitting for roughly four to six weeks before the wedding. Bring the correct shoes and undergarments, move around during each fitting and speak up when something feels uncomfortable.
Alteration costs and timelines vary, but early planning gives everyone more options. When the dress fits securely and allows natural movement, the bridesmaid can focus on supporting the couple and enjoying the wedding instead of adjusting her outfit all day.